How to Drywall a Ceiling
When it comes to drywall installation, tackling the ceiling can be one of the most challenging tasks. However, with the right techniques and process, you can achieve professional results. In this article, we'll discuss how to drywall a ceiling, covering everything from preparation to finishing touches.
1. Preparation:
Before you begin, ensure that you have all the necessary tools and materials on hand. These may include drywall panels, a drywall lift or scaffold (for easier installation), screws, a drill, a drywall knife, a T-square or straightedge, joint compound, drywall tape, and sandpaper.
2. Measure and Cut Drywall Panels:
Start by measuring the length and width of the ceiling to determine the size of the drywall panels needed. For easier handling, it's best to use smaller panels, such as 4x8 feet or 4x12 feet. Once you have your measurements, mark the dimensions on the drywall panels using a pencil and T-square. Then, use a drywall knife to score the front paper layer of the drywall along the marked lines. Finally, snap the drywall along the scored lines to break it cleanly.
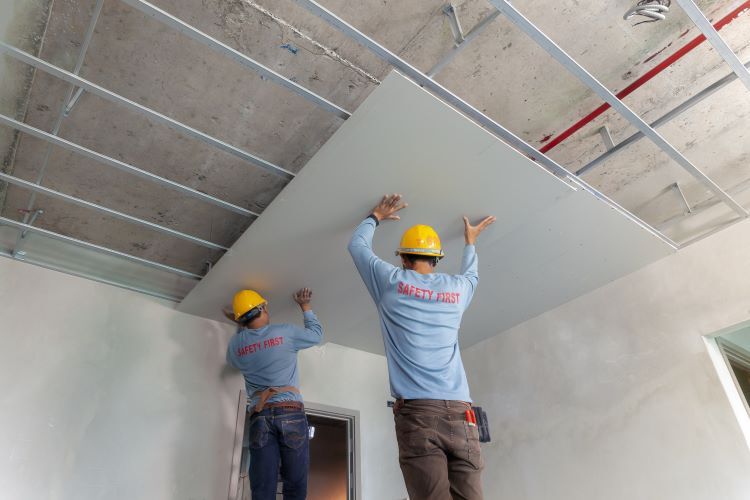
3. Install the First Panel:
Begin by installing the first drywall panel in one corner of the ceiling, ensuring that the tapered edges face outward. Use a drywall lift or scaffold to hold the panel in place while you screw it into the ceiling joists. Drive drywall screws every 6 inches along the edges of the panel and every 12 inches in the center. Be sure to sink the screws slightly below the surface of the drywall without breaking the paper.
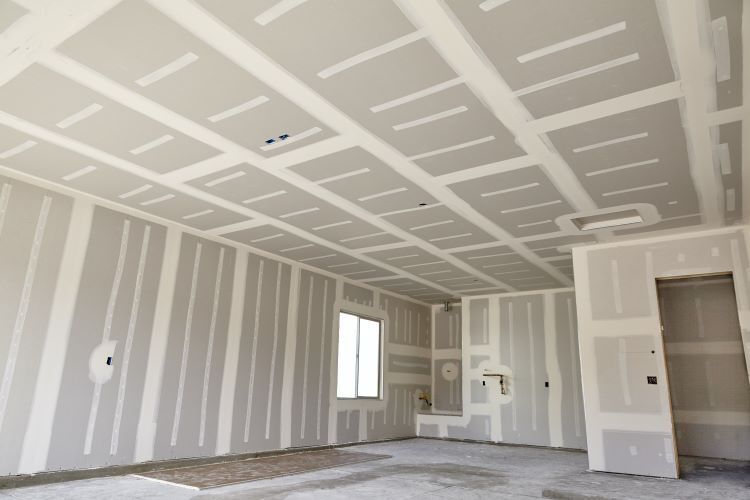
4. Continue Installing Panels:
Once the first panel is in place, continue installing subsequent panels in rows, staggering the seams between panels to create a stronger and more uniform ceiling. To achieve a professional finish, butt the edges of the panels tightly together without leaving gaps. Use a T-square or straightedge to ensure that the panels are installed straight and level.
5. Cut and Fit Around Obstacles:
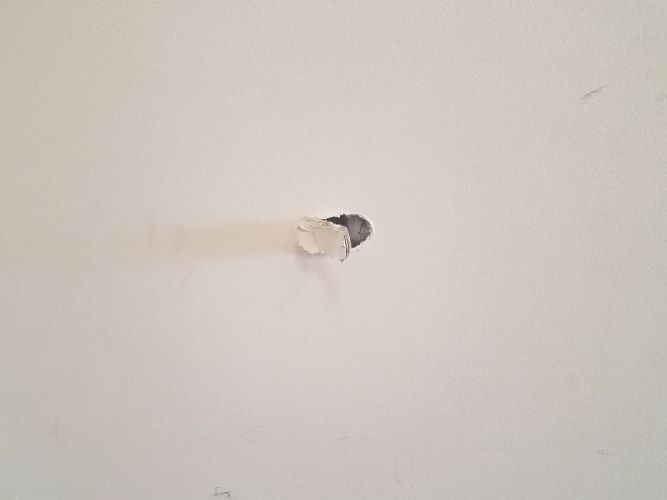
For areas with obstructions such as light fixtures, vents, or electrical boxes, measure and mark the dimensions of the obstruction on the drywall panel. Then, use a drywall saw or rotary tool to carefully cut out the necessary openings. Ensure that the openings are slightly larger than the obstructions to allow for a snug fit.
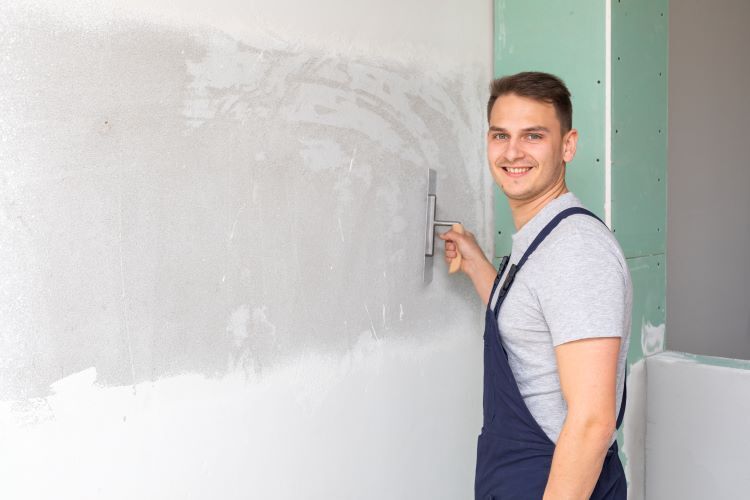
6. Apply Joint Compound and Tape:
Once all the drywall panels are installed, it's time to apply joint compound and drywall tape to the seams. Using a drywall knife, spread a thin layer of joint compound over each seam, covering it with drywall tape as you go. Smooth out any excess compound, ensuring that the tape is fully embedded and the seams are flush with the surrounding drywall.
7. Finish and Sand:
After the joint compound has dried completely, typically overnight, apply additional coats of compound to build up the seams and feather out any uneven areas. Once the compound is dry, sand the entire ceiling surface with fine-grit sandpaper to achieve a smooth and uniform finish.
Conclusion:
While drywalling a ceiling may seem daunting, following these techniques and steps can help simplify the process and achieve professional results. By taking your time, ensuring proper measurements, and using quality materials, you can create a smooth and seamless ceiling that enhances the overall look and feel of your space. And if you need assistance or prefer to leave it to the experts, don't hesitate to contact London Drywallers for professional drywall installation services in London, Ontario.