How Many Coats of Mud Do You Need for Perfect Drywall?
When it comes to achieving a flawless drywall finish, one of the most critical steps is applying the right number of coats of joint compound, commonly referred to as "mud." At London Drywallers, serving homeowners and businesses in London, Ontario, we often receive questions about how many coats of mud are necessary for that smooth, professional look. Here's a comprehensive guide to help you understand the process and why each coat matters.
What Is Drywall Mud, and Why Is It Important?
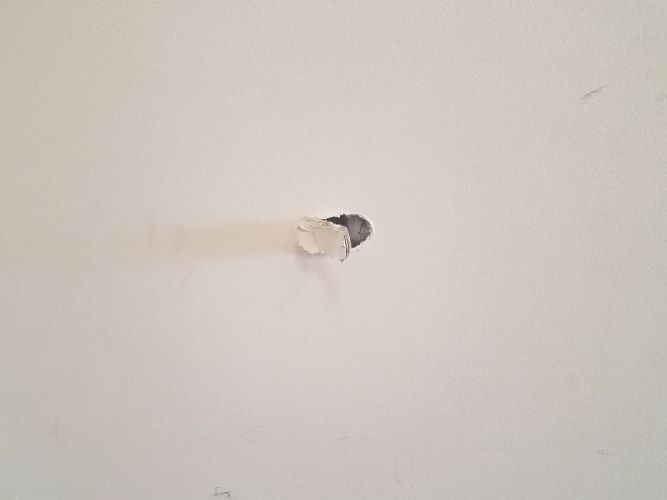
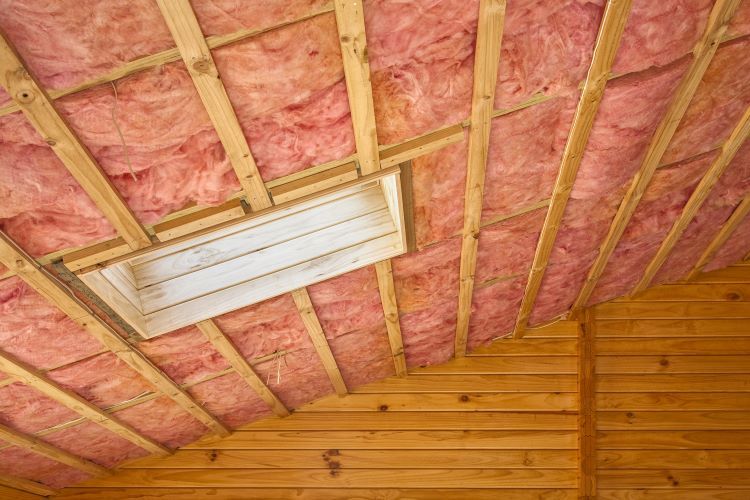
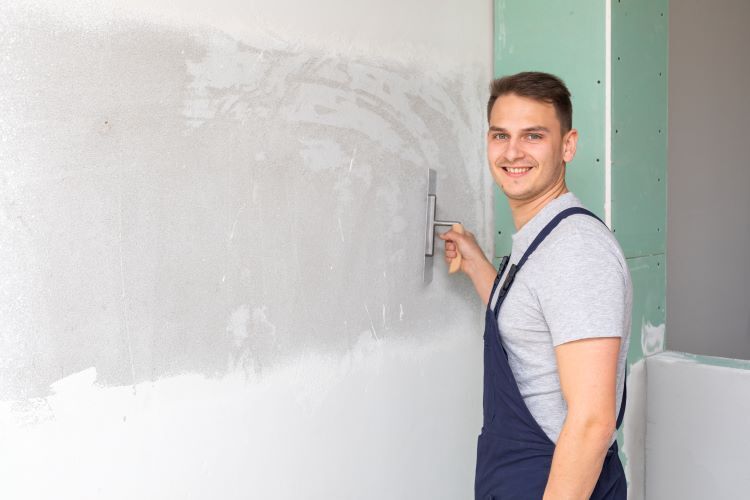
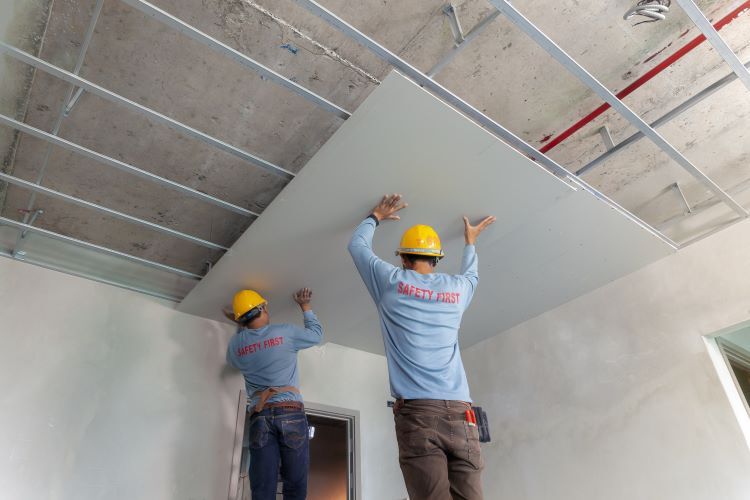
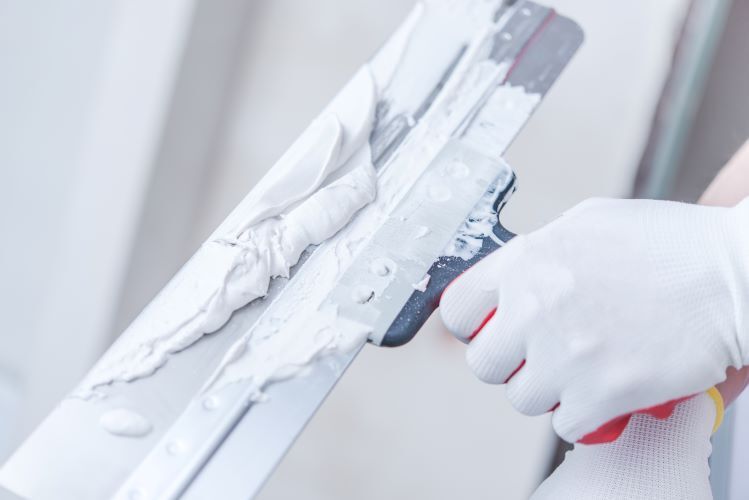
Drywall mud is a compound used to seal seams between drywall sheets, cover screw holes, and create a smooth, uniform surface ready for painting or texturing. A proper application process ensures durability and a seamless appearance, making it an essential part of any drywall installation or repair project.
The Step-by-Step Process of Applying Drywall Mud
Typically, achieving a perfect drywall finish requires three coats of mud and sometimes a fourth for extra polish. Here's why each coat matters:
1. The First Coat: Filling Seams and Screw Holes
Purpose: The first coat serves as the foundation, filling gaps between drywall sheets and covering screw heads.
- Tools Needed: Use paper or mesh tape to reinforce seams before applying the mud with a taping knife.
- Technique: Apply a thin layer of mud over the tape and screw holes, ensuring all areas are covered. Smooth out excess mud to reduce sanding later.
2. The Second Coat: Building and Smoothing
- Purpose: The second coat is meant to even out the surface, covering the tape completely and smoothing any ridges from the first coat.
- Technique: Apply a wider layer of mud, feathering the edges to blend into the surrounding drywall. This coat should be slightly thicker than the first but still smooth.
- Drying Time: Allow the first coat to dry completely before applying the second to prevent cracking or peeling.
3. The Third Coat: Final Smoothing
- Purpose: The third coat is the finishing touch, ensuring a seamless, smooth surface.
- Technique: Use a wider knife (10-12 inches) to spread a thin, even layer of mud. Focus on blending edges to eliminate visible lines or bumps.
Optional Fourth Coat:
For high-visibility areas, such as living rooms or kitchens, applying a fourth coat can enhance the finish. This coat is particularly helpful for achieving a polished, professional appearance.
Tips for Achieving a Perfect Finish
- Allow Ample Drying Time:
Each coat of mud needs to dry completely before sanding or applying the next coat. Depending on the humidity and temperature in your space, drying can take 12-24 hours. - Sand Between Coats:
Lightly sand each coat with fine-grit sandpaper to smooth out imperfections. Avoid over-sanding, which can damage the drywall tape. - Use Quality Tools:
Invest in high-quality taping knives and mud pans for a more precise application. - Mix Mud Properly:
If you're using powdered joint compound, mix it thoroughly to avoid lumps. Pre-mixed compounds are also a great option for beginners. - Practice Patience:
Rushing the process can lead to uneven coats or cracks. Take your time to ensure each layer is applied and smoothed correctly.
Common Mistakes to Avoid
- Applying Too Much Mud at Once: This can cause cracking and requires more sanding.
- Skipping Drying Time: Incomplete drying between coats can result in peeling or poor adhesion.
- Ignoring Edges: Feathering edges properly is crucial for blending the mud into the surrounding drywall.
Conclusion
Perfect drywall requires patience, technique, and the right number of coats of mud. Whether you're tackling a DIY project or hiring professionals, understanding the process ensures a seamless, polished result.
At London Drywallers, we specialize in drywall installation, repair, and finishing. Our experienced team ensures every coat is applied with precision for flawless results.
Contact us today for expert drywall services in London, Ontario, and let us bring perfection to your walls!