The Process of Drywall Finishing
Drywall finishing is a crucial step in the construction or renovation of any building, providing a smooth, seamless surface that is ready for paint or wallpaper. At London Drywallers, we understand the importance of quality finishing to ensure a flawless end result for our clients in London, Ontario. Here’s a comprehensive guide to the drywall finishing process:
1. Preparation:
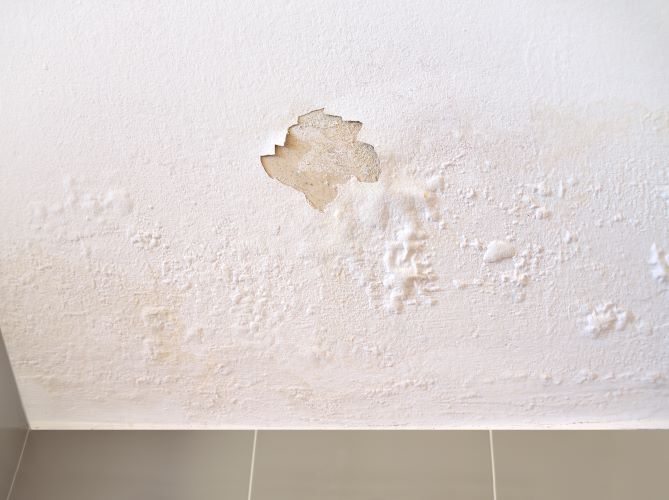
Before starting the drywall finishing process, proper preparation is essential. This includes:
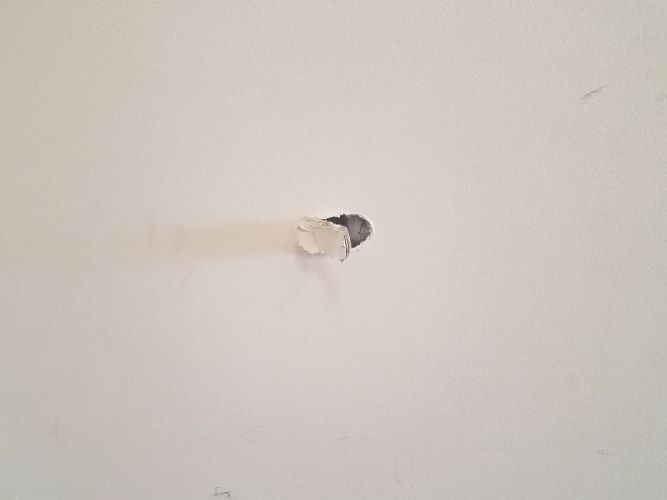
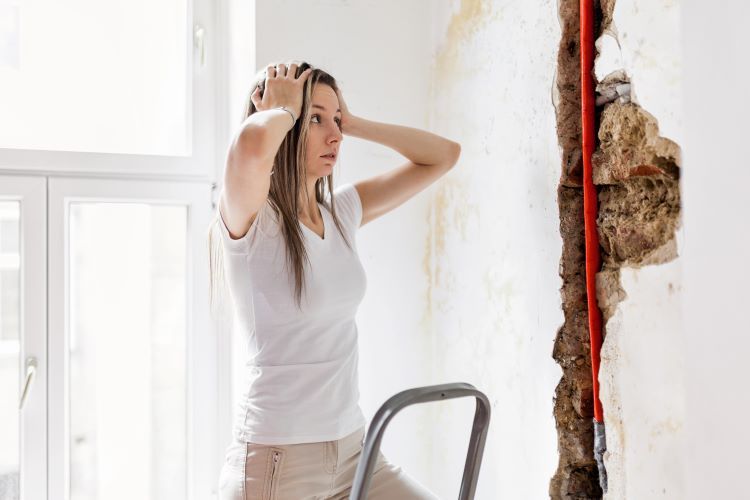
- Inspection and Repair: Inspecting the drywall for any damages or imperfections and repairing them before starting the finishing process.
- Cleaning: Ensuring the surface is free from dust, debris, and any contaminants that could affect the finish.
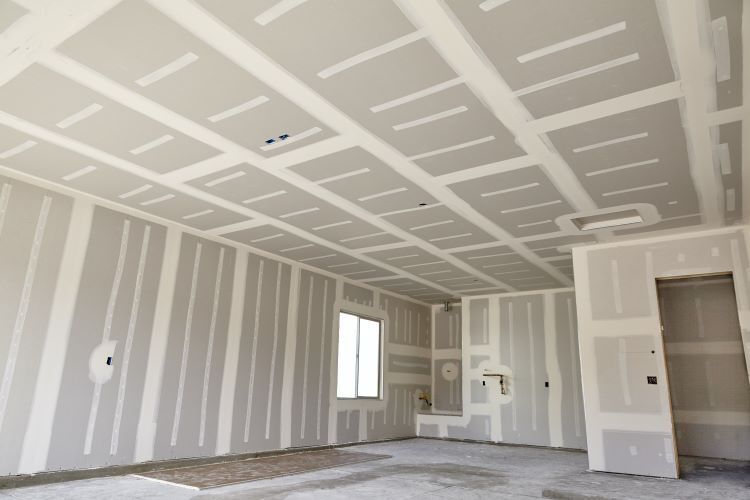
2. Taping:
Taping is the first step in creating seamless joints between drywall sheets. Here’s how it’s done:
- Apply Joint Tape: Embed joint tape over the joints between drywall sheets, whether it's paper tape or self-adhesive mesh tape.
- Joint Compound Application: Use joint compound (also known as mud) to cover the tape, pressing it into the joints and feathering the edges to create a smooth transition.
3. Mudding:
Mudding is the process of applying joint compound to the seams and screws in multiple layers to achieve a smooth finish:
- First Coat (Taping Coat): Apply a thin layer of joint compound over the tape, covering the seams and feathering the edges.
- Second Coat (Top Coat): Apply a second layer of joint compound, wider than the first, to further smooth out the seams and blend them into the surrounding drywall.
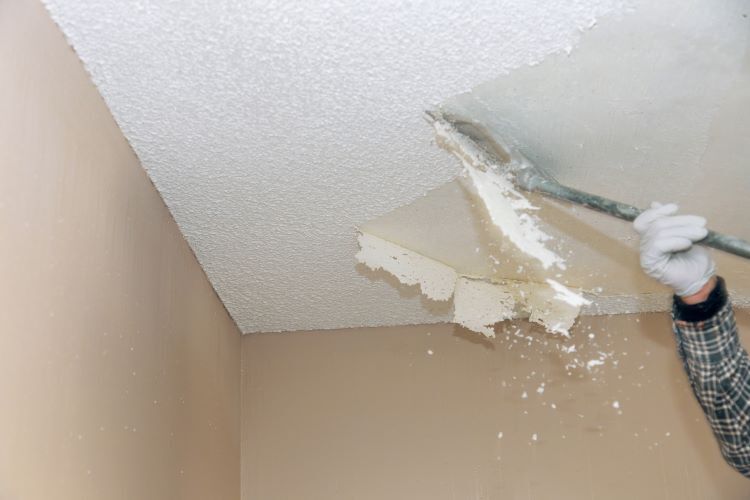
4. Sanding:
Once the joint compound has dried, sanding is necessary to achieve a smooth and even surface:
- Initial Sanding: Use coarse sandpaper to smooth out any ridges or bumps left by the joint compound.
- Final Sanding: Use finer sandpaper to achieve a smooth finish, ensuring that transitions between the compound and drywall are seamless.
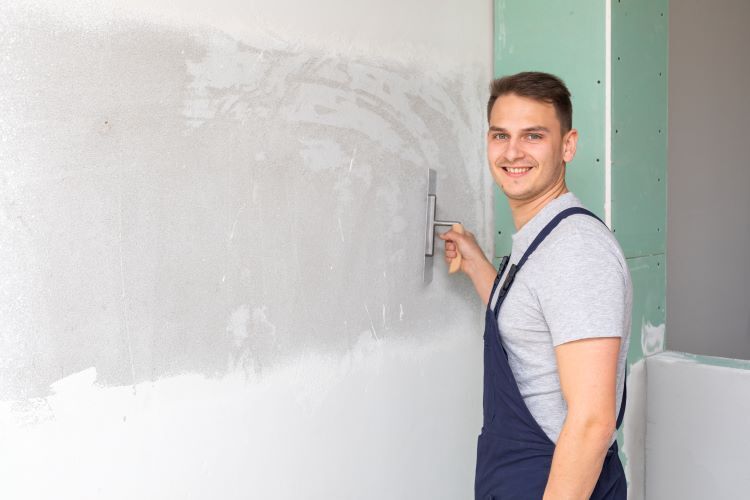
5. Finishing Touches:
After sanding, additional steps may be required depending on the desired finish:
- Corner Bead: Install metal or plastic corner bead on outside corners for added strength and to create crisp edges.
- Skim Coating: For an ultra-smooth finish, apply a thin layer of joint compound (skim coat) over the entire surface and sand once dry.
6. Priming and Painting:
Once the surface is smooth and free from imperfections, it is ready for priming and painting:
- Priming: Apply a primer to seal the drywall and provide a uniform surface for paint.
- Painting: Apply paint in the desired color and finish to complete the look of your walls.
7. Clean-Up:
After completing the drywall finishing process, clean up any dust or debris to leave the area ready for the next phase of construction or for occupancy.
At London Drywallers, we pride ourselves on delivering high-quality drywall finishing services that meet and exceed our clients’ expectations. Whether it’s a residential renovation or a commercial construction project in London, Ontario, our skilled team ensures precision and attention to detail in every step of the drywall finishing process.
For more information about our drywall services or to request a consultation, contact London Drywallers today. Let us help you achieve the perfect finish for your space.