How to Repair Drywall Around Windows and Doors

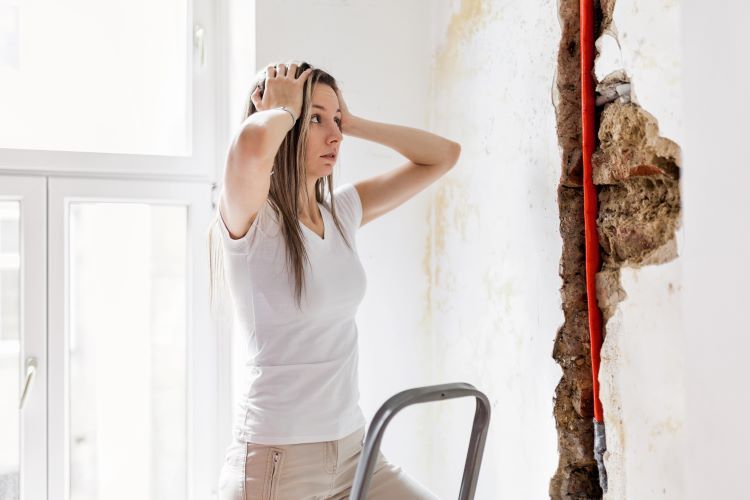
Drywall damage around windows and doors is a common issue that can occur due to various reasons such as shifting foundations, moisture intrusion, or everyday wear and tear. Repairing drywall around these areas is essential not only for aesthetic purposes but also to maintain the structural integrity of your home. London Drywallers, your trusted drywall experts in London, Ontario, are here to guide you through the process of repairing drywall around windows and doors.
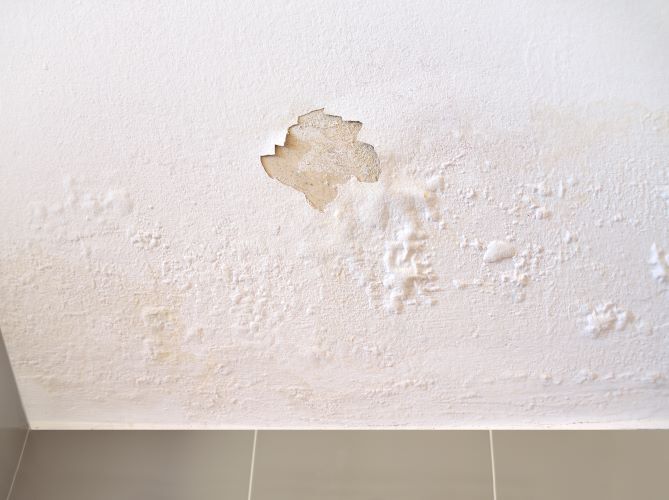
Common Causes of Drywall Damage Around Windows and Doors
Before diving into the repair process, it’s important to understand the common causes of drywall damage in these areas:
- Moisture and Leaks: Water intrusion from rain, snow, or plumbing issues can cause drywall to swell, warp, and eventually crumble.
- Settling and Shifting: As homes age, they settle, which can lead to cracks around windows and doors.
- Impact Damage: Accidental bumps and knocks, such as moving furniture or daily use, can lead to dents and holes.
- Improper Installation: Poor installation of windows, doors, or drywall can result in gaps and cracks over time.
Tools and Materials Needed
To repair drywall around windows and doors, you will need the following tools and materials:
- Utility knife
- Drywall saw
- Putty knife
- Sanding block or sandpaper
- Drywall tape
- Joint compound
- Drywall screws and a screwdriver
- Primer and paint (to match existing wall color)
- Drop cloths and painter’s tape (for protection)
Step-by-Step Guide to Repairing Drywall
1. Prepare the Area
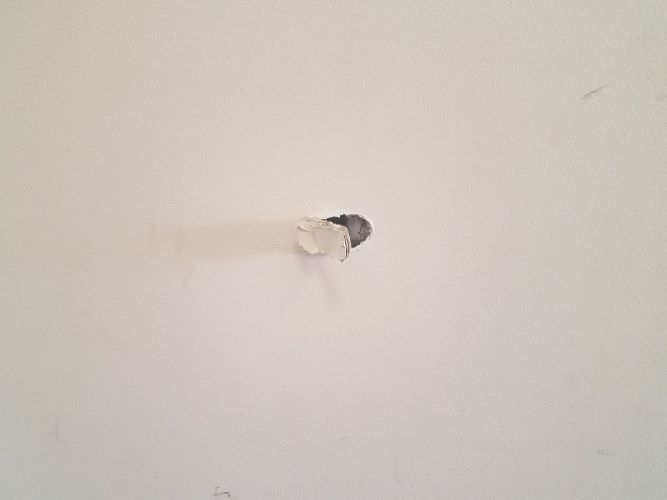
Start by removing any loose or damaged drywall around the affected area. Use a utility knife or drywall saw to cut away the damaged portion, creating a clean, square or rectangular hole.
2. Install Backing Support
If the damaged area is large, you may need to install a backing support to secure the new drywall patch. Cut a piece of wood or drywall to fit behind the hole, securing it with drywall screws.
3. Cut and Install the Drywall Patch
Cut a piece of drywall to fit the hole you created. Ensure it fits snugly. Secure the patch with drywall screws, making sure the screws are slightly recessed below the surface.
4. Apply Drywall Tape
Apply drywall tape over the seams of the patch. This will help to reinforce the joint and prevent future cracking.
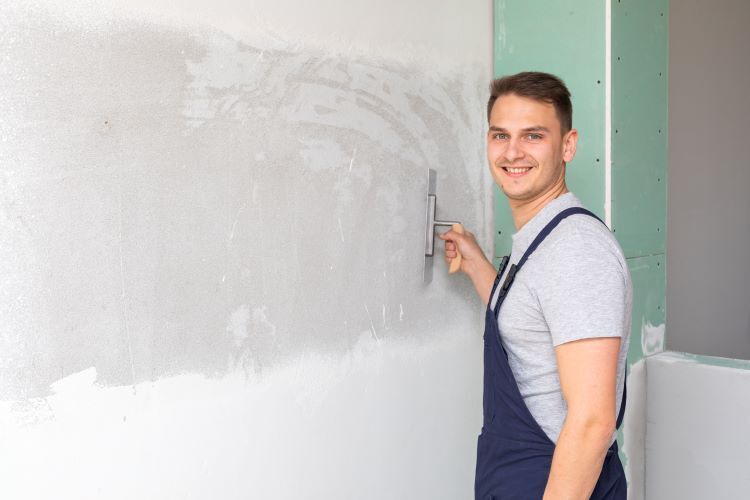
5. Apply Joint Compound
Using a putty knife, apply a layer of joint compound over the tape and seams. Feather the edges to blend with the surrounding wall. Let it dry completely, then apply additional coats as needed, sanding between each coat to achieve a smooth finish.
6. Sand and Finish
Once the final coat of joint compound is dry, sand the area smooth to match the surrounding wall. Be sure to remove all dust before proceeding to the next step.
7. Prime and Paint
Apply a coat of primer to the repaired area to seal the joint compound and ensure an even finish. Once the primer is dry, paint the area to match the existing wall color.
8. Inspect and Touch Up
Inspect the repaired area for any imperfections. Touch up as needed to achieve a flawless finish.
Conclusion
Repairing drywall around windows and doors is a task that requires attention to detail and the right tools and materials. By following these steps, you can restore the appearance and integrity of your walls. However, if you’re unsure about tackling this project on your own, London Drywallers is here to help. Our team of skilled professionals in London, Ontario, can handle all your drywall repair needs, ensuring a high-quality finish and lasting results.
Contact us today to schedule a consultation and let us help you maintain the beauty and functionality of your home.