How to Insulate Drywall in Older Homes
Insulating drywall in older homes can be a transformative upgrade, significantly enhancing comfort, energy efficiency, and even the value of the property. Older homes, while charming and full of character, often lack the modern insulation that newer homes boast, leading to drafty rooms, higher energy bills, and inconsistent indoor temperatures.
At London Drywallers, we understand the unique challenges of working with older properties and are committed to helping homeowners improve their living spaces through effective drywall insulation. In this article, we’ll guide you through the process of insulating drywall in older homes, offering tips and techniques to ensure the best results.
1. Assessing the Current Insulation Situation
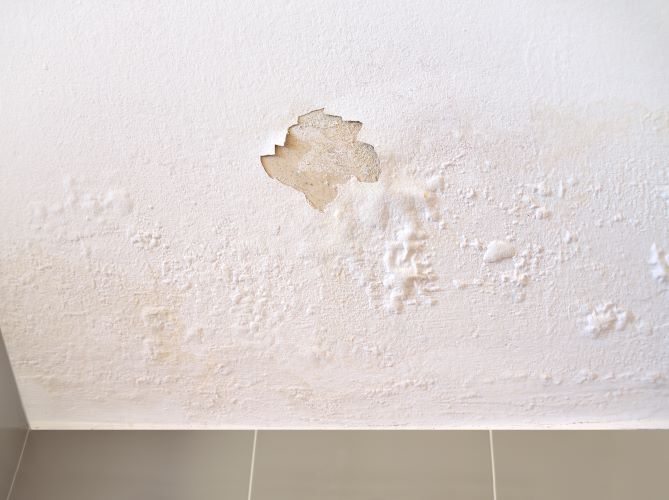
Before starting any insulation project, it’s essential to assess the current state of your home’s insulation. In older homes, insulation may be minimal or completely absent in some walls. Start by checking for cold spots, drafts, and signs of moisture, which could indicate insufficient or deteriorated insulation.
You can also use a thermal imaging camera to identify areas where heat loss is occurring. This tool will help you pinpoint the exact locations that need insulation, ensuring that your efforts are focused where they’re needed most.
2. Choosing the Right Insulation Material
When it comes to insulating drywall in older homes, selecting the right insulation material is crucial. There are several options available, each with its own set of advantages:
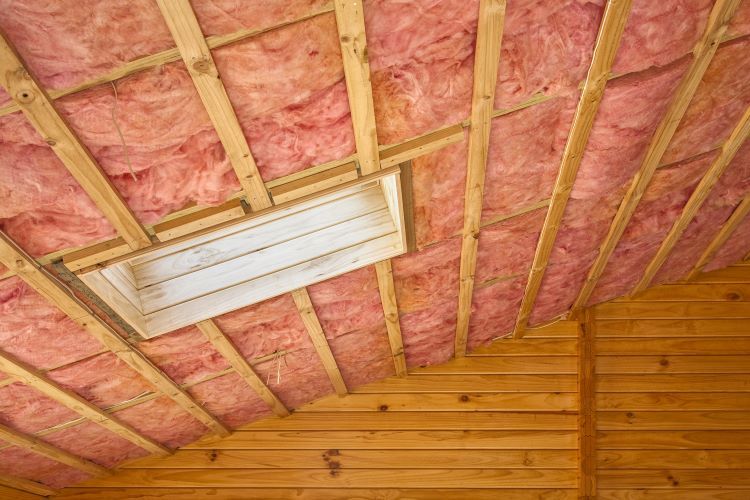
- Fiberglass Batts: A popular choice for its affordability and ease of installation, fiberglass batts are effective at providing thermal insulation. However, they may not be the best option for irregularly shaped walls or spaces with many obstructions.
- Spray Foam Insulation: Spray foam is excellent for filling gaps and sealing drafts, making it ideal for older homes with uneven surfaces or hard-to-reach areas. It provides a high R-value, which measures the insulation’s effectiveness, but it can be more expensive than other options.
- Blown-In Insulation: Blown-in cellulose or fiberglass is a good option for retrofitting insulation in existing walls without the need for major demolition. This material can be blown into wall cavities through small holes, making it a less invasive option for older homes.
- Rigid Foam Boards: Rigid foam boards offer high thermal resistance and can be used in walls, floors, and ceilings. They are particularly useful for insulating basement walls in older homes.
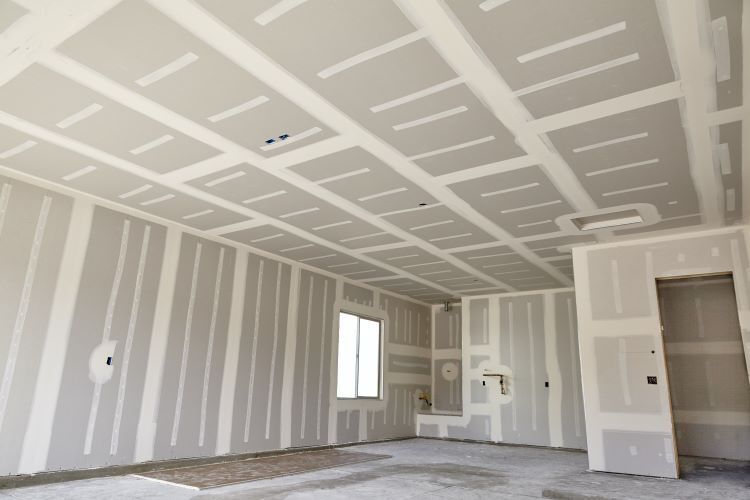
3. Preparing the Walls for Insulation
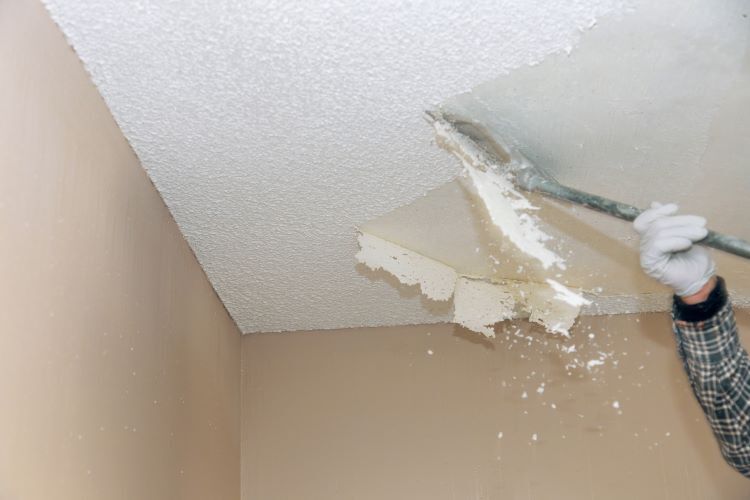
Preparation is key to ensuring a successful insulation project. Start by removing any old or damaged drywall to expose the wall studs and cavities. If you’re dealing with an older home that has plaster walls, you may need to carefully remove the plaster and lath.
Once the walls are exposed, inspect the wall cavities for any signs of moisture, mold, or pest infestations. Address any issues before proceeding with insulation, as moisture or pests can compromise the effectiveness of your insulation and lead to further problems down the road.
4. Installing the Insulation
The installation process will vary depending on the type of insulation material you choose. Here’s a general overview of how to install the most common types of insulation:
- Fiberglass Batts: Measure the height and width of each wall cavity and cut the batts to fit. Place the batts between the studs, ensuring they fit snugly without compressing the material. Use a utility knife to trim around electrical boxes, pipes, and other obstructions.
- Spray Foam: Spray foam insulation should be applied by a professional, as it requires specialized equipment and expertise. The foam is sprayed directly into the wall cavities, where it expands to fill gaps and create an airtight seal. Once the foam has cured, any excess can be trimmed away.
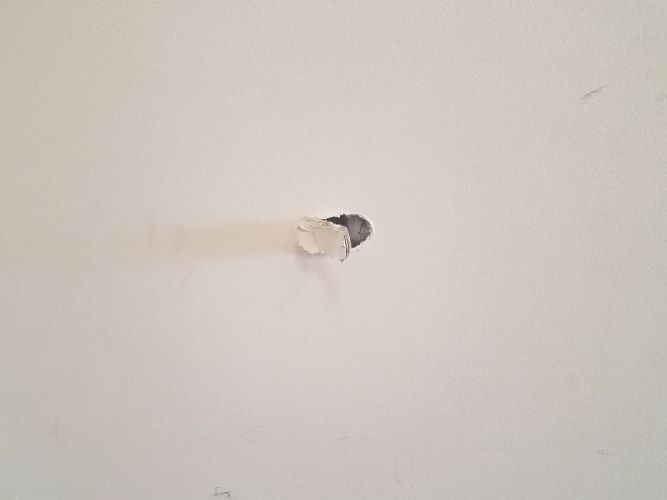
- Blown-In Insulation: For blown-in insulation, small holes are drilled into the wall, and the insulation is blown into the cavities using a specialized machine. This method is minimally invasive and is particularly useful for retrofitting older homes without the need for extensive demolition.
- Rigid Foam Boards: Measure and cut the foam boards to fit between the wall studs. Use adhesive to secure the boards in place, and seal any gaps with spray foam or caulk to ensure an airtight fit.
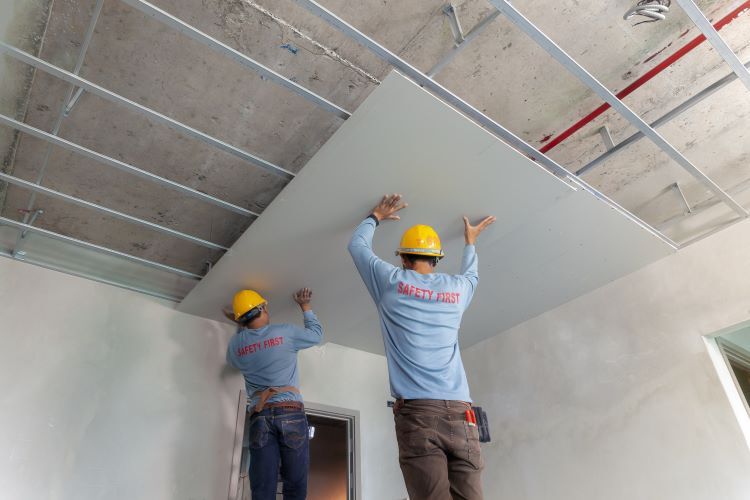
5. Reinstalling Drywall
Once the insulation is in place, it’s time to reinstall the drywall. Begin by hanging new drywall sheets, making sure they are securely fastened to the wall studs. Use drywall screws to attach the sheets, and be sure to stagger the seams for added stability.
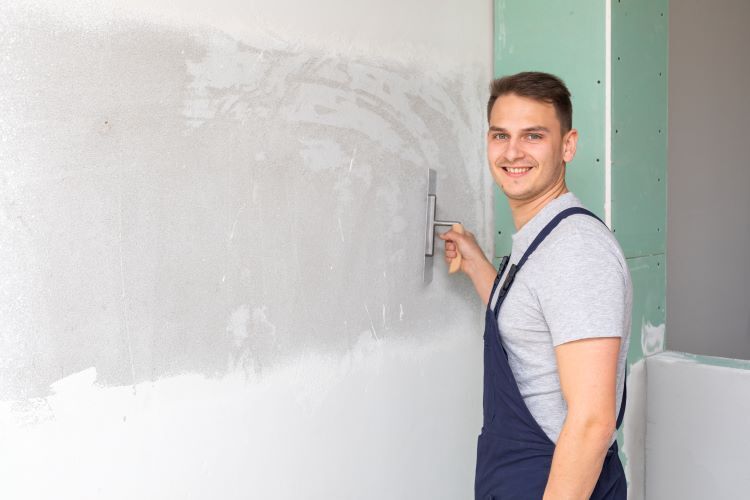
After the drywall is in place, apply joint compound to the seams and screw heads, embedding drywall tape into the compound for a smooth finish. Sand the surface once the compound is dry, and apply additional coats as needed to achieve a seamless look.
6. Final Touches and Considerations
After the drywall is installed and finished, you can paint or apply any desired wall coverings. It’s also a good idea to inspect the insulation and drywall for any gaps or areas that may need touch-ups.
Consider upgrading your windows, doors, and HVAC system to complement the new insulation and further improve your home’s energy efficiency. Proper insulation, combined with other energy-saving measures, can significantly reduce your energy bills and enhance your home’s comfort.
Conclusion
Insulating drywall in older homes is a valuable investment that can improve comfort, energy efficiency, and even property value. By carefully assessing your home’s needs, choosing the right insulation materials, and following best practices for installation, you can achieve a significant upgrade in your living environment. At London Drywallers, we have the expertise and experience to help you navigate the challenges of insulating older homes, ensuring a successful project from start to finish.
If you’re ready to improve the insulation in your older home, contact London Drywallers today. Our team is here to provide professional advice and high-quality services tailored to your specific needs. Let’s work together to make your home more comfortable, energy-efficient, and beautiful.