How to Ensure Quality in Your Water Damage Restoration Project
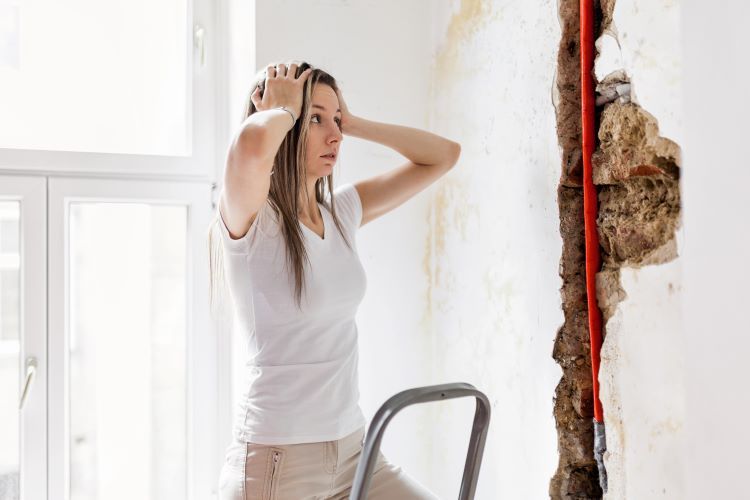
Water damage can strike unexpectedly, turning your home from a safe haven into a source of stress. Whether it’s caused by a burst pipe, a leaky roof, or a natural disaster, water damage requires immediate attention to prevent further destruction and costly repairs. But it's not just about quick action; ensuring quality in your water damage restoration project is crucial to restoring your home effectively and safeguarding its long-term health. Here’s how you can ensure that your water damage restoration project is done right, particularly focusing on drywall, one of the most vulnerable materials in your home.
1. Act Quickly to Minimize Damage
Time is of the essence when dealing with water damage. The longer water sits, the more it can seep into walls, floors, and ceilings, leading to structural damage, mold growth, and other complications. As soon as you notice water damage, it’s essential to:
- Shut off the water source: If the damage is due to a plumbing issue, turn off the water to prevent further flooding.
- Remove standing water: Use a wet/dry vacuum or a pump to remove as much water as possible.
- Ventilate the area: Open windows, doors, and use fans or dehumidifiers to begin drying out the affected area.
These initial steps can help reduce the extent of the damage, but professional restoration is usually necessary to address the problem thoroughly.
2. Hire a Reputable Restoration Company
Choosing the right company is crucial to ensuring a successful restoration project. When selecting a restoration service, consider:
- Experience and Expertise: Look for a company with a proven track record in water damage restoration, particularly with drywall. London Drywallers, for example, has extensive experience in restoring homes affected by water damage in London, Ontario.
- Certifications and Insurance: Ensure that the company is certified by industry organizations such as the Institute of Inspection, Cleaning, and Restoration Certification (IICRC) and carries proper insurance.
- References and Reviews: Ask for references and check online reviews to gauge the company’s reputation and quality of work.
3. Assess the Extent of the Damage
A thorough assessment is key to understanding the full scope of the water damage. This includes:
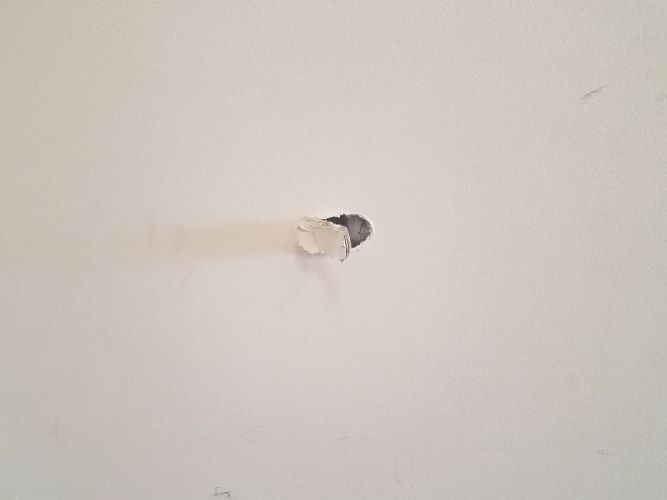
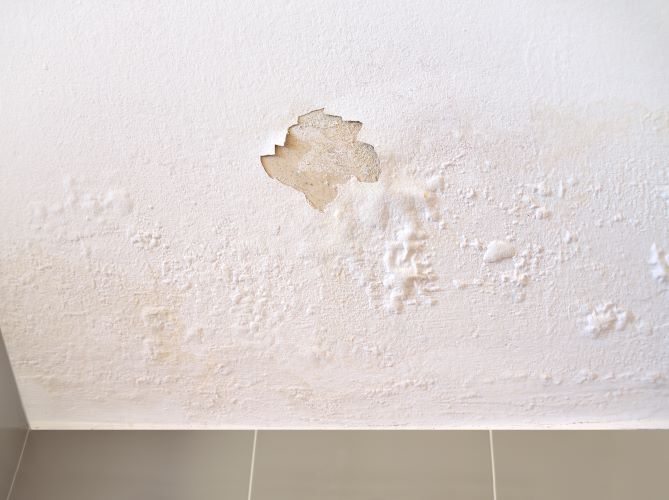
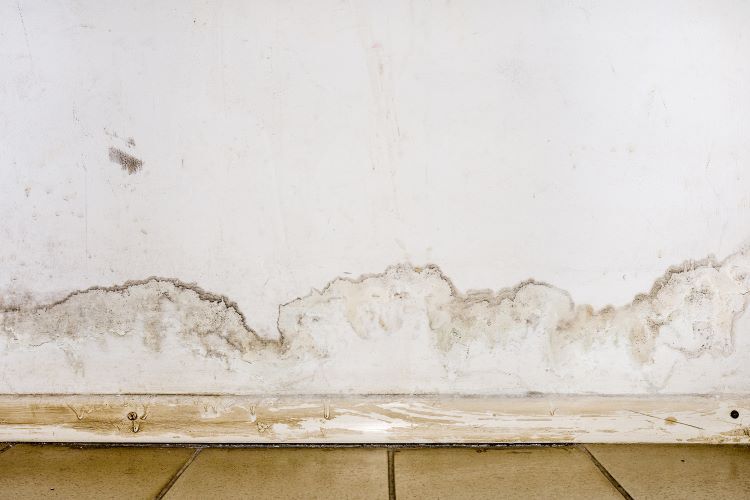
- Inspecting the Drywall: Water-damaged drywall can lose its structural integrity, becoming soft, sagging, or discolored. Professionals will use moisture meters to determine the extent of moisture penetration.
- Checking for Mold: Mold can start growing within 24-48 hours of water exposure. Inspect the drywall for visible signs of mold, but also consider air quality testing for hidden mold.
- Evaluating the Structural Impact: Water can weaken structural components like studs, insulation, and framing behind the drywall. It’s important to assess these areas to determine if replacement or reinforcement is necessary.
4. Use the Right Materials for Restoration
Not all drywall is created equal, especially when it comes to water resistance. For quality restoration, it’s essential to:
- Choose Water-Resistant Drywall: In areas prone to moisture, such as basements or bathrooms, consider using moisture-resistant drywall, often referred to as green board or blue board.
- Opt for Mold-Resistant Products: Mold-resistant drywall is treated to prevent mold growth, making it a smart choice for areas that have experienced water damage.
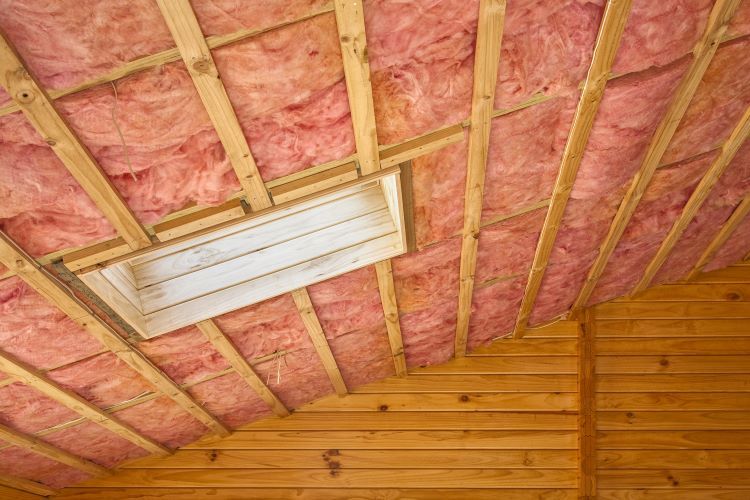
- Use High-Quality Insulation: If the insulation behind the drywall is water-damaged, replace it with high-quality, mold-resistant insulation.
Using the right materials ensures that your restoration not only addresses current damage but also helps prevent future issues.
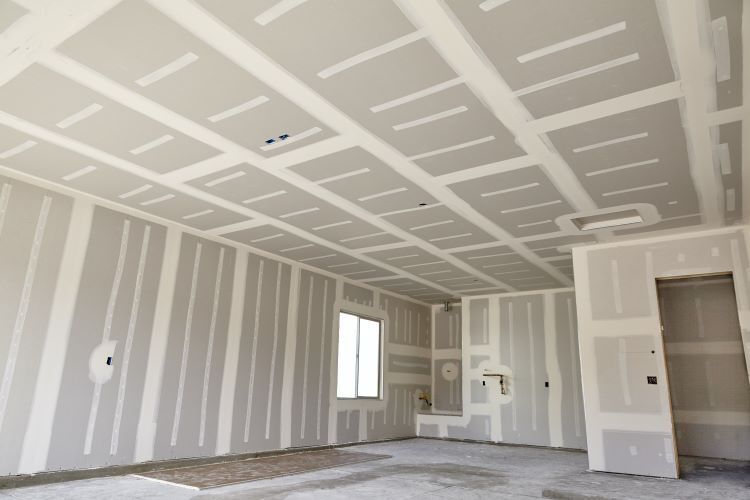
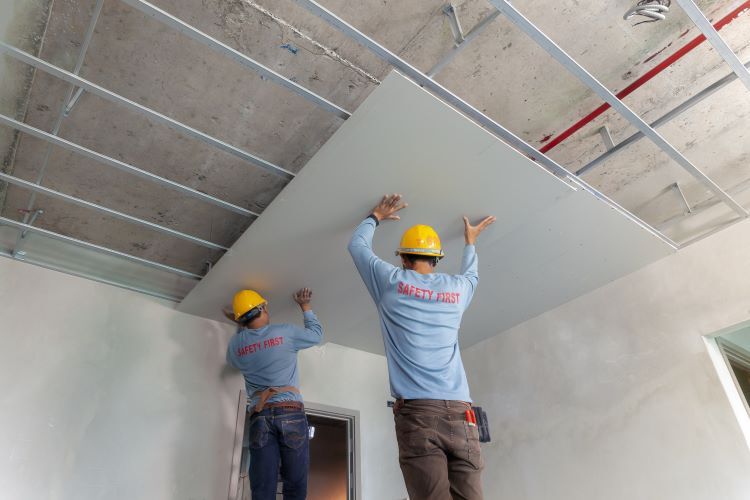
5. Ensure Proper Installation and Finishing
Even the best materials can fail if they’re not installed correctly. Here’s how to ensure quality in the installation process:
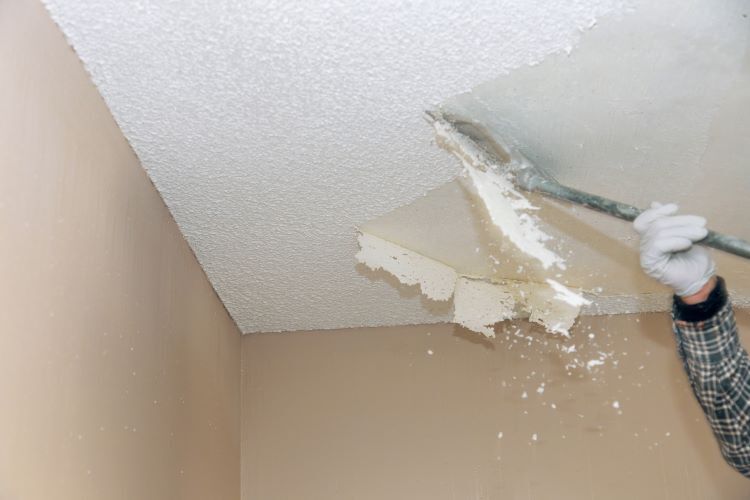
- Drying the Area Thoroughly: Before new drywall is installed, ensure the entire area is completely dry. Any residual moisture can lead to mold growth and further damage.
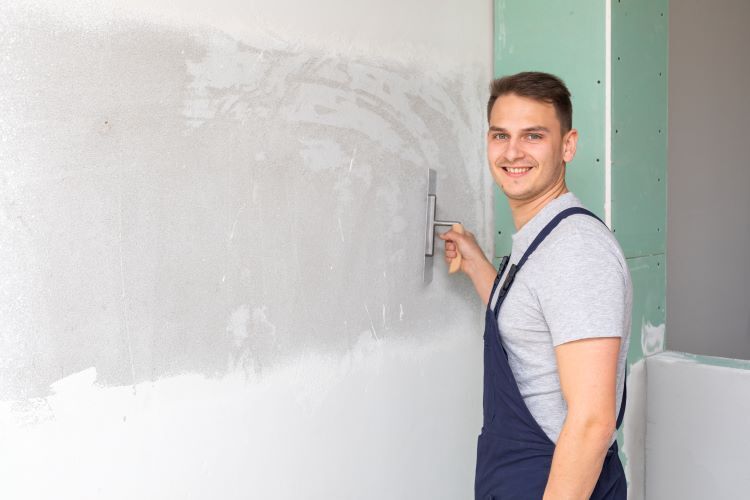
- Sealing and Painting: After the drywall is installed, sealing the surface with a primer is crucial, especially if water-resistant or mold-resistant drywall was not used. Follow this with a high-quality paint designed for moisture-prone areas.
- Attention to Detail: Ensure that all joints are properly taped and mudded, and that any texture or finish matches the existing wall. This attention to detail is what makes the restoration seamless.
6. Inspect the Completed Work
Once the restoration work is complete, take the time to inspect the area thoroughly:
- Look for Flaws: Check for any imperfections in the drywall installation, such as uneven surfaces, bubbles in the tape, or poorly finished edges.
- Test for Moisture: Even after restoration, it’s wise to test for residual moisture in the walls, especially in areas that were heavily saturated.
- Review the Paint Job: Ensure that the paint coverage is even, with no signs of peeling, bubbling, or discoloration.
7. Take Preventive Measures
Finally, to protect your home from future water damage, consider these preventive steps:
- Regular Maintenance: Keep an eye on your plumbing, roofing, and gutters to catch potential issues before they lead to significant water damage.
- Install Water Alarms: Water alarms can alert you to leaks or flooding in vulnerable areas like basements, bathrooms, and laundry rooms.
- Improve Drainage: Ensure that your property has proper drainage to direct water away from your foundation, reducing the risk of water infiltration.
Conclusion
Water damage restoration is a complex process that requires careful planning, quality materials, and skilled workmanship. By following these steps and working with a reputable company like London Drywallers, you can ensure that your water damage restoration project is handled with the highest standards of quality. This not only restores the beauty and safety of your home but also protects your investment for the long term.